Everyone enjoys putting on cosmetics every now and again. It’s a therapeutic process for some, while it’s all about making a statement for others. Applying makeup, on the other hand, can appear difficult because everyone applies it differently depending on their skin type and preferences. Have you ever wondered if you’re doing your makeup correctly and if it looks good on your face?
You won’t need a glam squad, don’t worry. Follow our step-by-step instructions to create a flawless base for any makeup look that looks fantastic on any face, any time.
Step 1: Wash your face
Make sure your face isn’t oily and free of contaminants. Remember that the products you use will be applied to an empty canvas on your face. Make sure you don’t over-wash your face; remove any blackheads and scrub thoroughly to ensure there’s no dead skin layer.
Step 2: Hydrate the skin
Moisturization is a vital part of any excellent makeup routine. Makeup sits smoothly and glides on your face thanks to hydration. Use a moisturiser to prep it. To get the blood circulating in your face, lather your skin and massage it adequately. To protect your skin, look for a moisturiser that contains sunscreen. Choose a lightweight cream moisturiser if your skin is dry, and a moisturiser with salicylic acid if your skin is acne-prone.
Step 3: Add primer onto your skin
Primer is a crucial cosmetics base that is often overlooked. The basic purpose of a primer is to smooth out your skin and fill in any open pores before applying foundation or concealer. Dab a tiny quantity of primer onto your cheeks, T-zone (forehead and nose), and chin to apply. Using your fingertips or a foundation brush, blend the primer into your skin.
A silicon finish is common in primers, and you only need a small amount of it. There are also tinted primers on the market that accomplish a two-in-one job of smoothing your skin and, if necessary, color-correcting the tone.
We recommend using a light pink primer to give your skin a healthy glow if it is drab. Uneven redness or acne patches can be neutralised with a green-tinted primer, and unhealthy tones can be neutralised with a lilac-tinted primer if you don’t want your face to look sallow.
Step 3: Hide dark circles
If you have dark circles beneath your eyes, start by concealing them with concealer. Start with an orange concealer to colour correct if you need a lot of coverage. After that, choose a concealer that complements your skin tone. Make sure it’s a creamy formula. Using a pointed concealer brush, apply in little stripes. For the lightest touch, you might also use your ring finger. The warmth of your skin aids in the blending process. Make sure not to tug on the delicate under-eye areas.
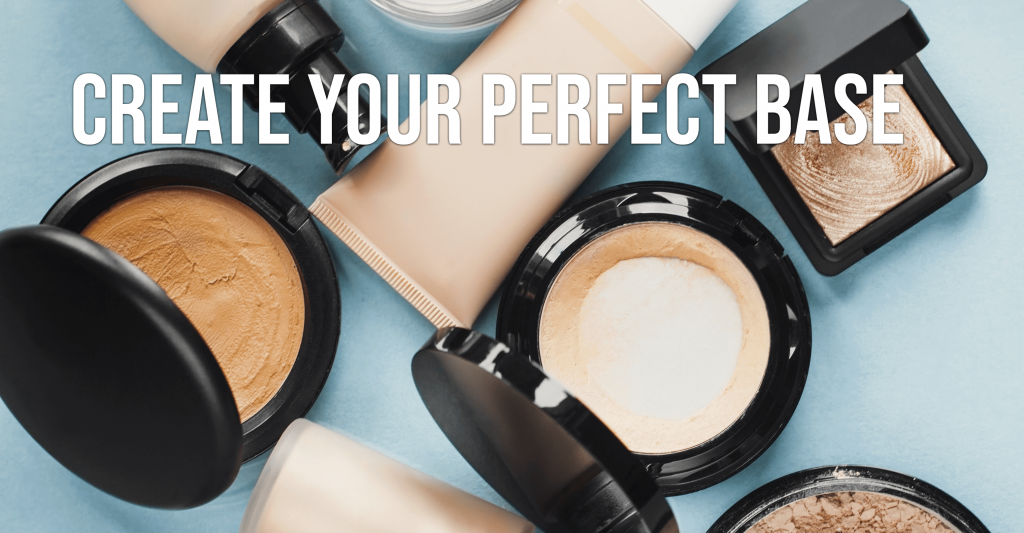
Step 4: Apply a layer of foundation
Your skin tone will be evened out, and you will have a lovely shine. Make sure you use enough foundation to cover your entire face. Make little dots all over your face, including your cheekbones, forehead, chin, and nasal bridge. Don’t forget about your neck! Blend the foundation towards the borders of your face with your fingertips for light coverage.
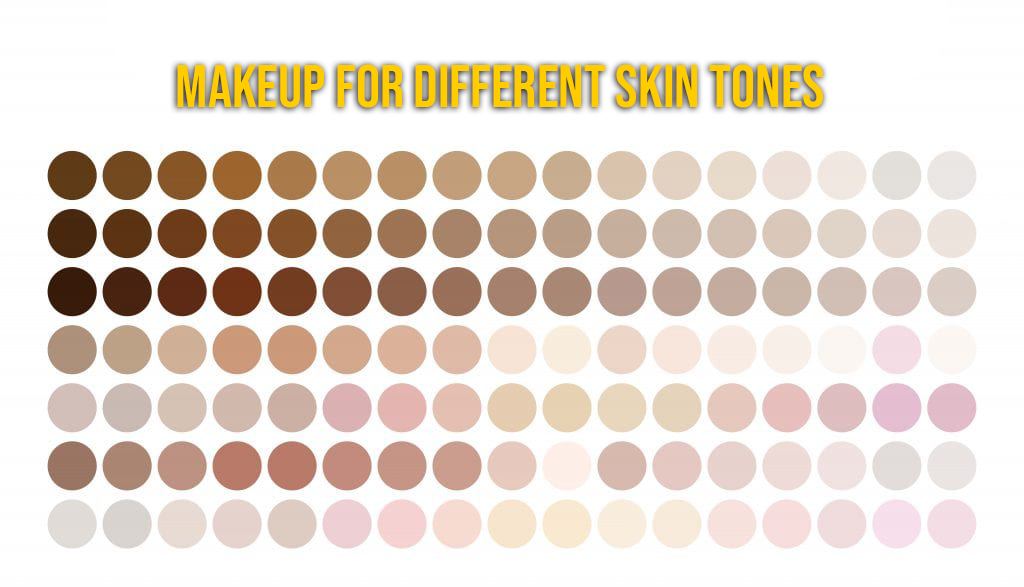
Use a damp beauty sponge or a buffing brush to mix the foundation into your skin for thicker coverage. Make certain you use the correct colour. You can make one by combining two colours or choosing a manufacturer that offers a variety of colours. In broad daylight, the appropriate shade would be undetectable on your chin and neck.
Step 5: Apply translucent setting powder
This is the final step in attaining that flawless foundation. Apply a transparent setting powder to your face. It’s a translucent powder that seals in the foundation and absorbs any extra oil or makeup that your skin may create.
Using a large fluffy makeup brush, apply a thin layer of setting powder all over your face. If you have dry skin, we recommend applying your foundation between your eyes and chin to avoid creases. To avoid a cakey buildup, make sure to blend in the areas properly.
Step 6: Set it with a setting spray
This is a minor procedure that is mostly used by makeup artists to keep the makeup in place. A cosmetic finishing spray is used to keep your makeup from smearing, creasing, or fading. You could also use it as a touch-up in between touch-ups. Makeup setting sprays come in two varieties: one that gives your makeup a matte finish and the other that gives it a satin sheen.