
Today we’re going to be talking about a very important topic, contouring your face. We all know that contouring is a form of temporary camouflage makeup used to create the illusion of depth and shadows on the face. It’s also great for enhancing your facial features while you’re in disguise at Halloween! So, how do you get started?
There are three different ways: natural light, artificial light, or a handheld mirror. In this blog post, I’m going to talk about how each one works and which ones are best for certain occasions. Let’s start!
Natural light is probably going to be the most popular choice because you can simply go outside and take a picture of your face in natural lighting. This will work best during the day. Then, if you want to make it darker or lighter after, you can easily adjust it on your computer! The problem with this though is that you risk exposing the world to your secret identity. People are much more likely to recognize you when they can see your face clearly! You might also want to avoid taking pictures of yourself in natural lighting if you’re wearing a fake tanner or makeup that’s supposed to be waterproof (or sweatproof).
Artificial light is probably the second most popular choice, as it’s much less likely that people will recognize you. This works well for pictures at night or indoors, but is not as good for daytime. I wouldn’t recommend using a lamp, since they give off a very yellow/orange color which looks odd if you’re trying to make yourself look tanner or darker. Try to find a light that isn’t too bright (or dark), for example, the light on your smartphone or computer. If you’re new to contouring, I wouldn’t recommend using artificial lighting until you get better at it.
Handheld mirrors are my personal favorite choice of how to contour your face for every occasion. They’re very versatile and easy to use! Plus, they are incredibly sneaky because no one knows that you’re using them. If you have a reflective phone or computer screen, that can work too! Just remember to turn all the lights off so people don’t realize what you’re doing. When using a handheld mirror, here’s how I do it:
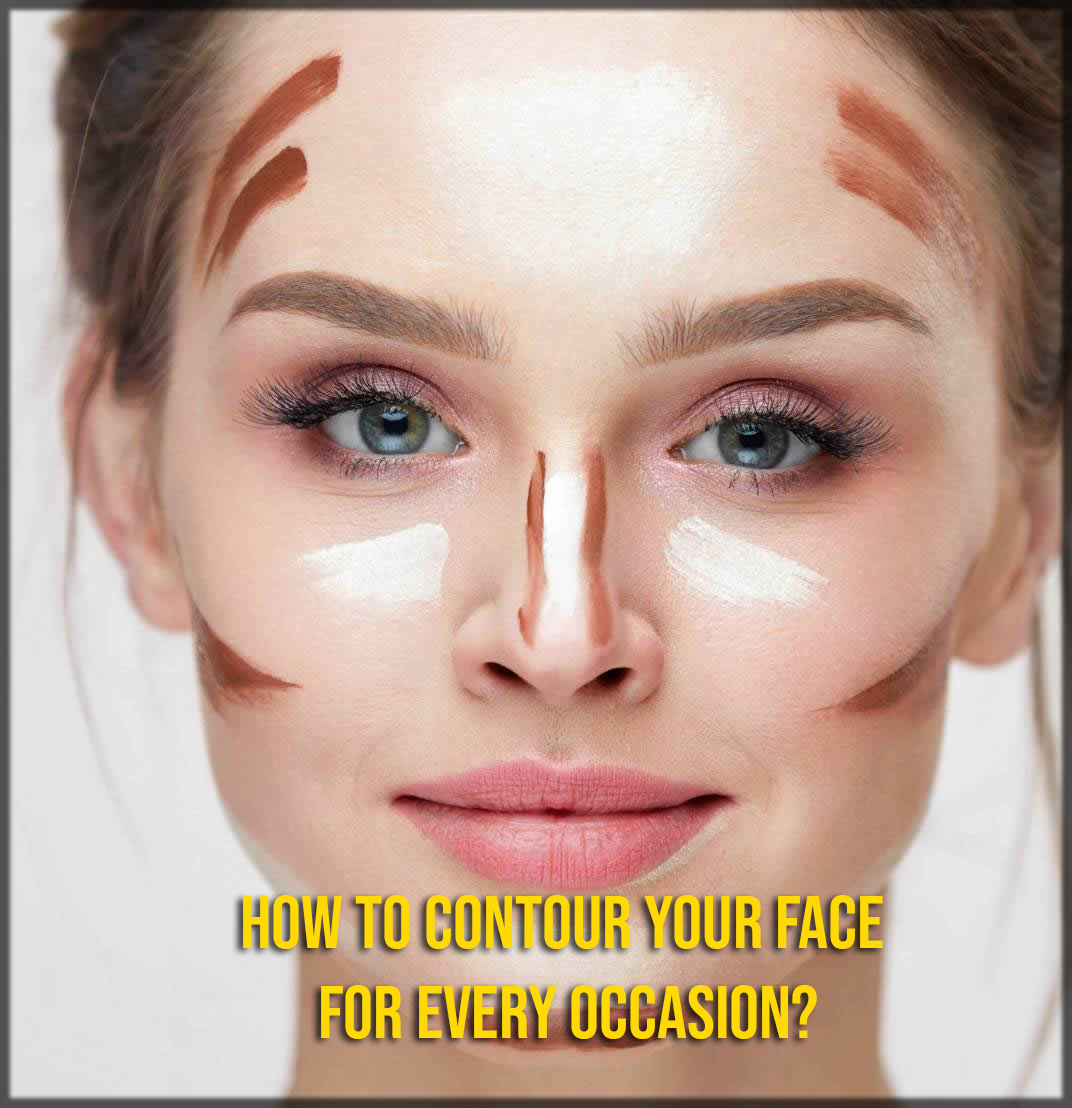
The first step is to cover the upper part of your face. That way, you’re not risking exposing anything important! I find it easiest to first draw the shape of my cheekbones with either a powder or cream contouring product, then fill in the gaps afterward with a bronzer powder. To make sure that everything looks even and blended together well, I go over it all again with a beauty blender.
I prefer to contour my nose last because it’s the easiest and quickest step! You just want to draw a straight line down the center of your nose, then blend it outwards at an angle with either a brush or beauty blender until there are no harsh lines left.
Conclusion:
If you’re going for more of a dramatic look, then you can choose to do a darker shade on the hollows of your cheeks instead. I personally prefer using natural lighting for this option because it helps prevent over contouring, but I still recommend doing a test first in case you need to make any adjustments.